A RAW editor and catalogue for macOS
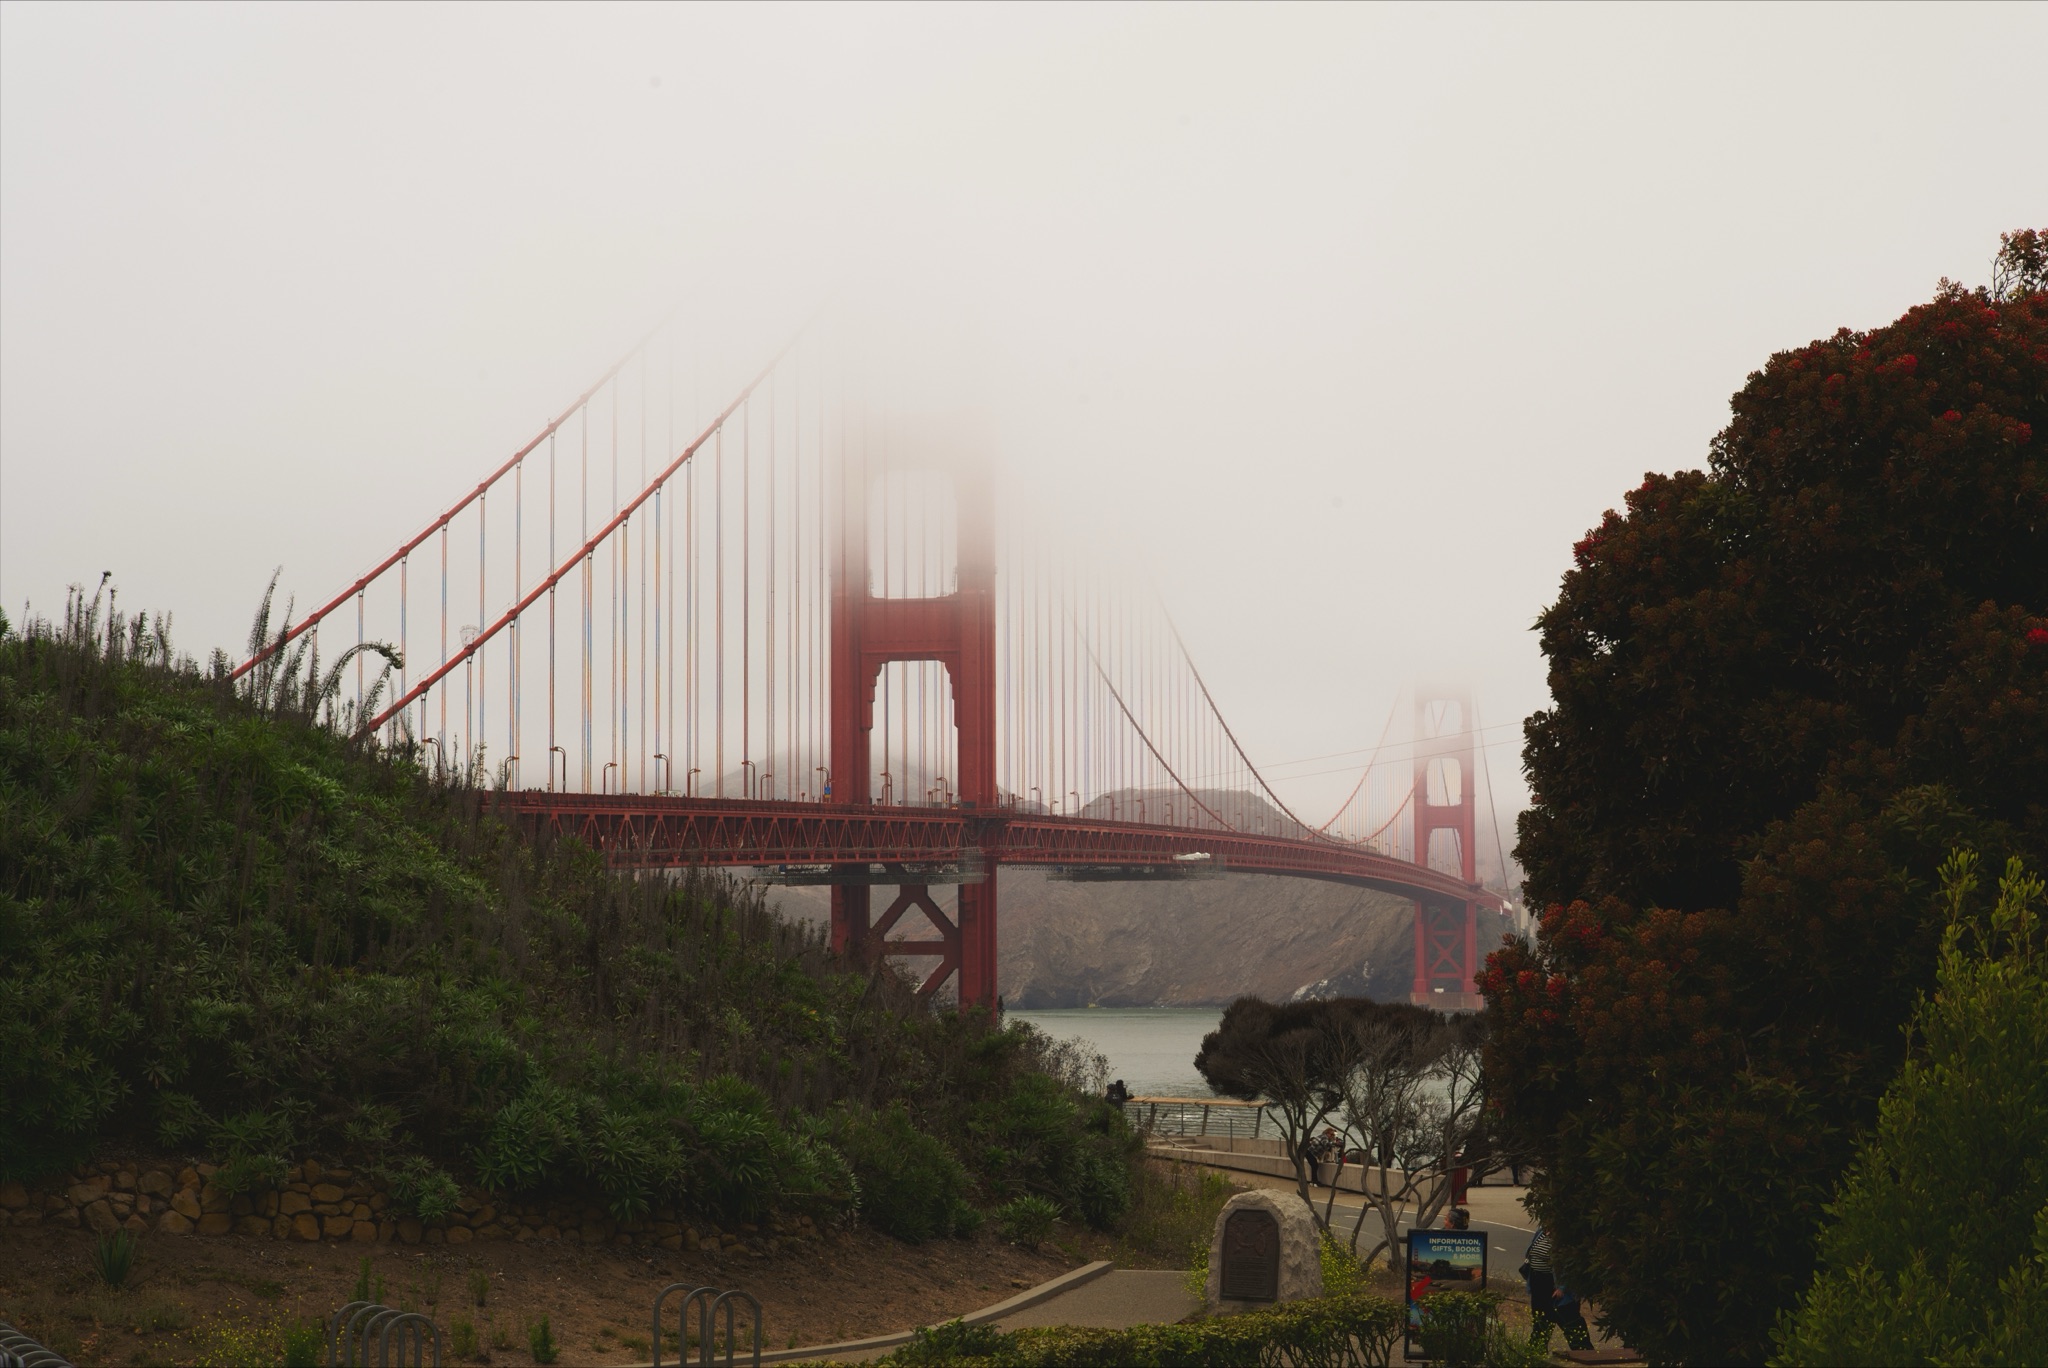
Choose your best.
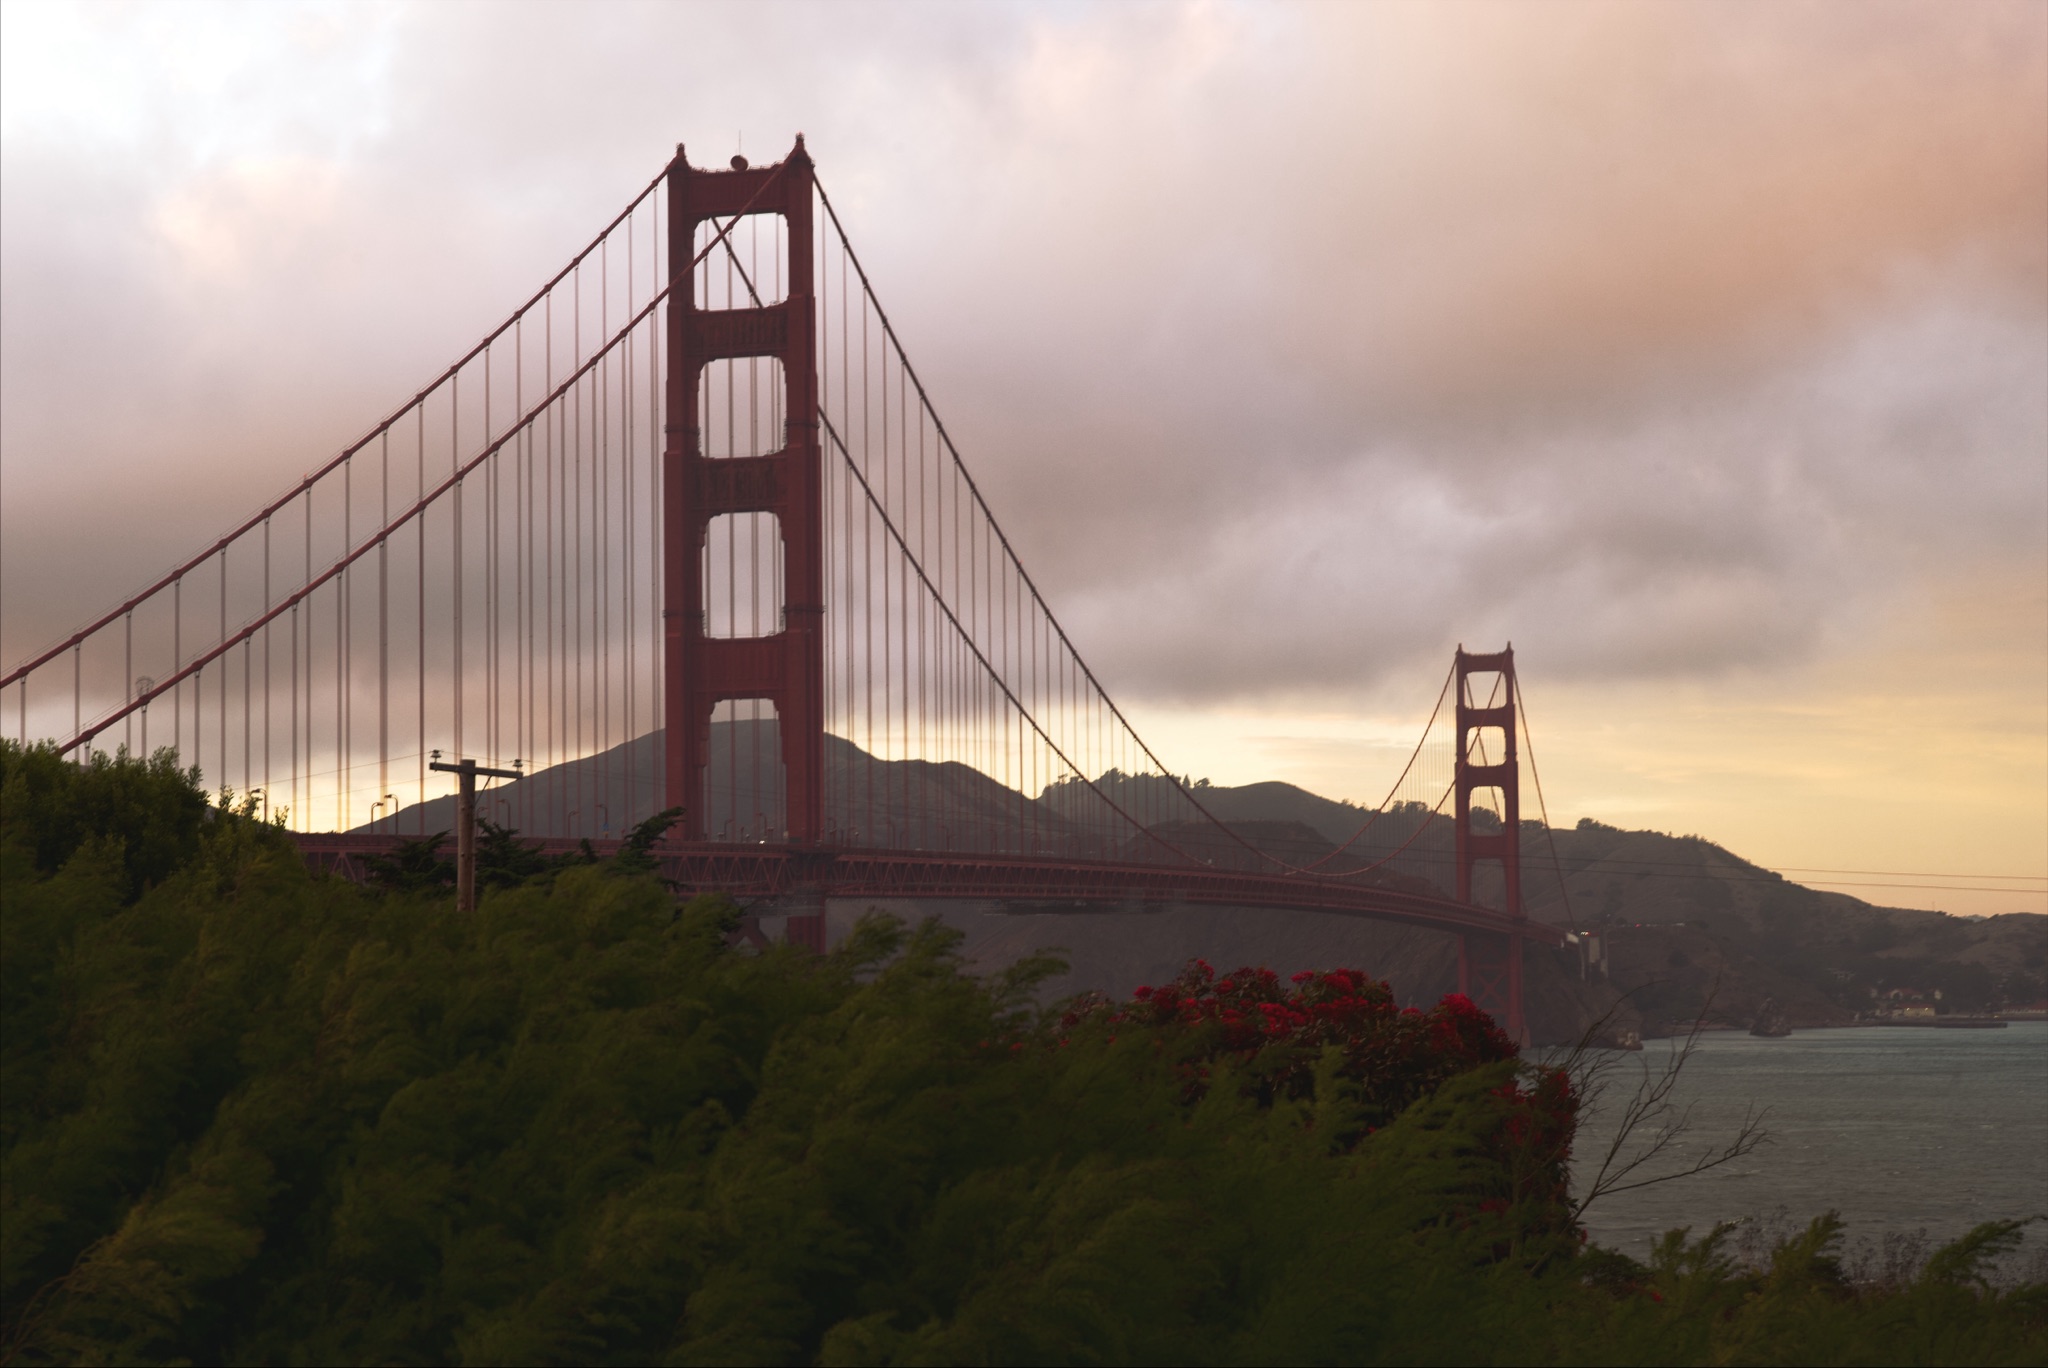
Make the final edits.
BBrowseCChooseDDevelop
Review a shoot from the keyboard, compare photographs and edit your favourites. Work with Apple Photos and folders in one catalogue. All photo processing and analysis run on your Mac.
- 30 daysevery feature included
- $99.99 oncelimited launch price, no subscription
- All processing localno photo uploads for analysis
I The workflow
First, get everything together.
A shoot on a card. A library in Photos. Years of work on a drive. Bring them into one catalogue, then find the photographs you want to work on.
01 · Import
Import from your memory card.
Start with the whole shoot. Frames groups photographs into sessions and marks what is new, already imported or a possible duplicate. Choose what to bring into Apple Photos or a folder.
Choose an album or organise folders with date and sequence naming patterns. Existing files are never overwritten. Add an existing folder as a source to browse photographs already on disk.
SDXC476 frames
- Morning, harbour11812 already here
- Elbe, ice297all new
- Evening, blue hour61all new
intoApple Photos › 2026 › Elbe, ice
Import continues after the sheet closes. Frames marks duplicates before you select photographs. To browse photographs already on disk, add their folder as a source without copying them.
02 · Sources
Apple Photos and folders, in one catalogue.
Browse photographs from Apple Photos, local folders and connected drives. Your files stay where they are, and folders appear in the sidebar. When a drive is disconnected, its previews, ratings, verdicts and edits remain in Frames.
The grid uses local previews without downloading originals. Frames can fetch an original when you pause in Loupe, zoom in Loupe or Compare, develop or export. Memory cards are used for import: copy selected photographs to Photos or a folder, then eject the card.
- Apple Photos
- Folders on disk
- Mounted and archive drives
- Previews and edits available offline
Frames catalogueone view of every source
- ratings & verdicts
- developments
- offline previews
Originals stay in their source. Edits stay in Frames’ catalogue.
03 · Finding
Find photographs without adding keywords.
Search by subject, people, lighting, composition or text visible in a photograph. Frames analyses previews on your Mac. Each search term appears above the grid and can be removed separately.
Select a photograph and press S to find the 100 most similar photographs. Add your own keywords and captions, or save a search that updates as your catalogue grows. Analysis works locally, without network access.
- Search by five groups of detected words
- Camera and lens filters with counts
- 42,341 photographs analysed in about fourteen minutes
boat✕harbour✕4,120612 photographs
SUBJECTS
boat4,120612harbour2,880612water9,412588rope740212gull31896crane20461+214
PEOPLE
one person11,204318group3,910104child1,02227face8,640241nobody19,880294
LIGHT
golden hour2,140188backlit1,86096overcast5,204221night3,00643
COMPOSITION
close up6,180142wide8,940307reflection1,404163
TEXT
MARINA9638HARBOUR MASTER4122NO ENTRY3889+1,109
LEICA M11
28mm10435mm29150mm18875mm29
II The workflow
Less second-guessing. More keepers.
Start with a quick pass, then give the strongest photographs a closer look. The decisions stay yours; the tools help you make them.
04 · Choose
Review a shoot in four steps.
- I Sweep\X]undecidedReview undecided photographs and mark each one Keep or Reject.
- II Rate0–5kept, unratedRate the photographs you kept from one to five stars.
- III Inspect0–5kept, rated ≥ 3Inspect kept photographs above your chosen rating threshold, which defaults to three.
- IV Cleanup\]rejectedReview rejects before deleting. Deletion is available only here and requires confirmation.
297 photographs from one afternoon, with 19 kept. The diagram shows their proportions and the shortcuts for each phase.
04 · Choose · try it yourself
IKeep or reject each photograph.
Start with twenty undecided photographs. Keep or reject each one. Related photographs remain together until every member of the set has a verdict.
Verdict
Rating
Click the window, then \ keep · X reject ·] clear · 1–5 rate ·←→ move · ⌘Z undo. Double-click a frame to open the Loupe; double-click again to return to Grid.
05 · Three views
Grid, Loupe, Compare.
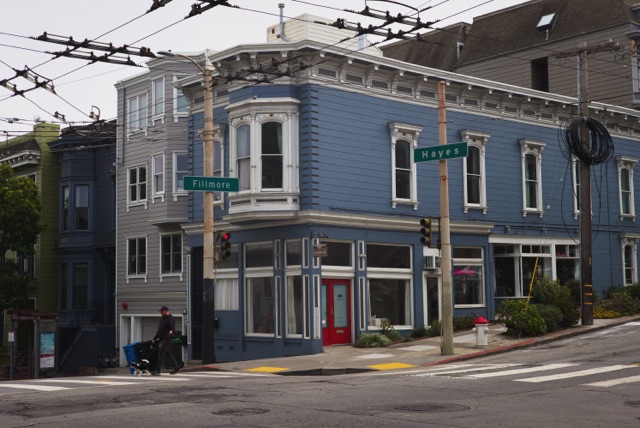
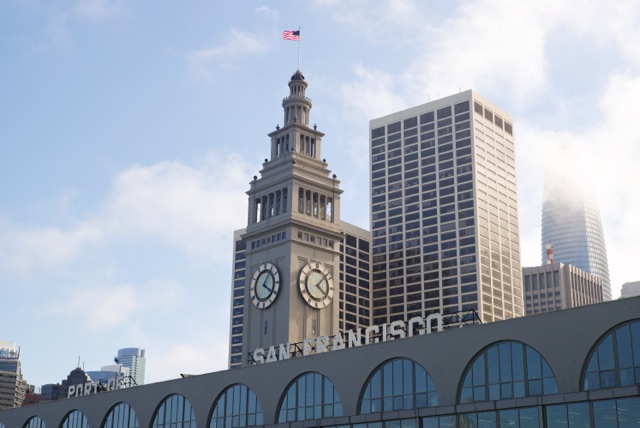
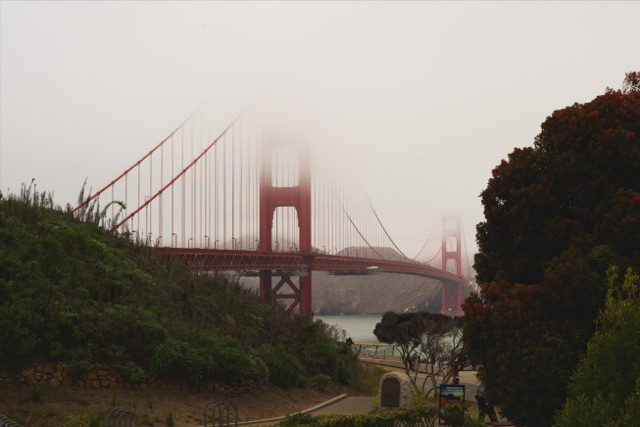
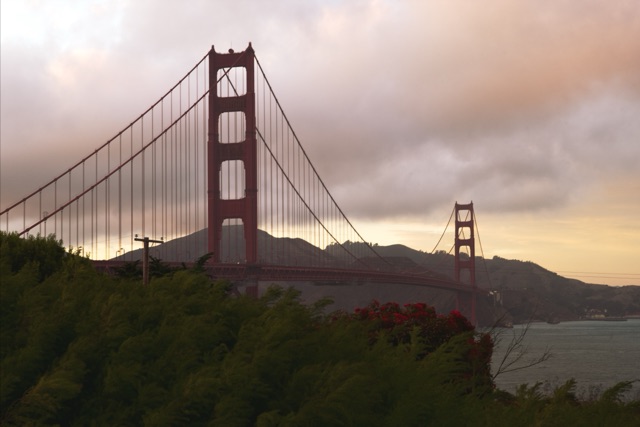
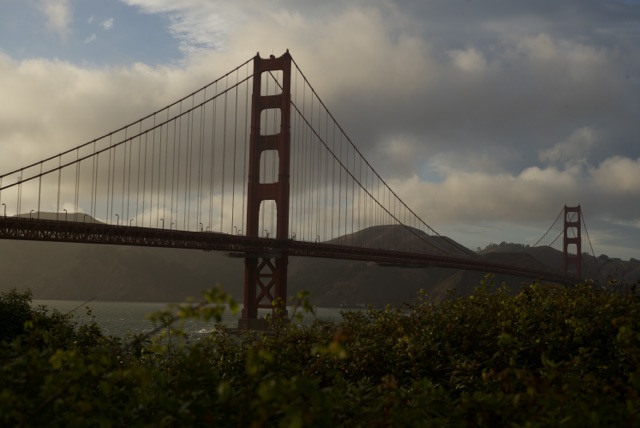
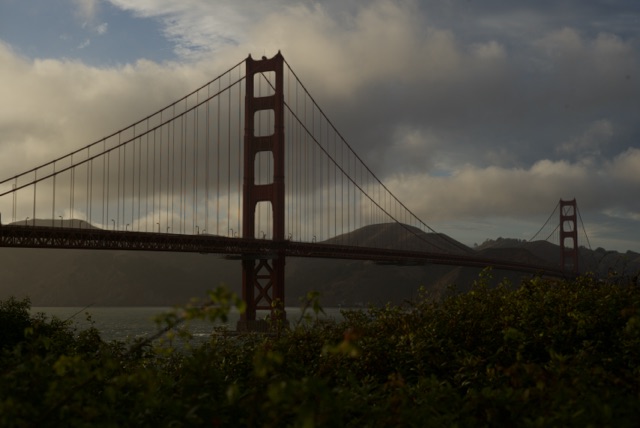
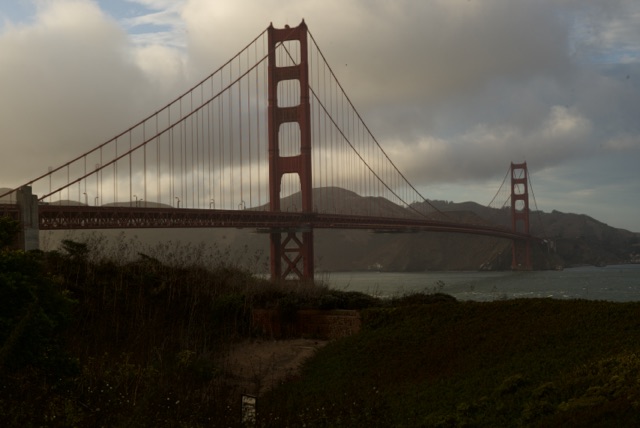
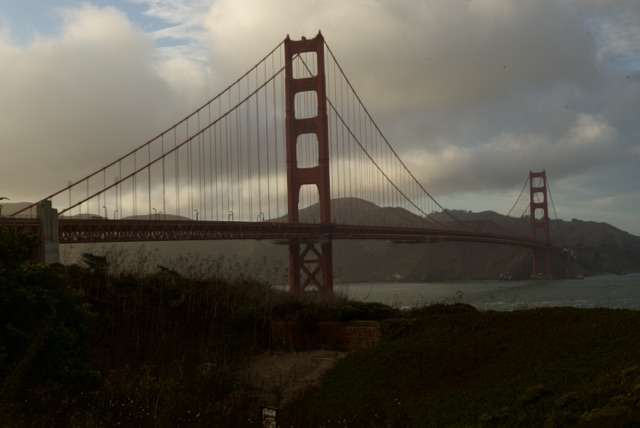
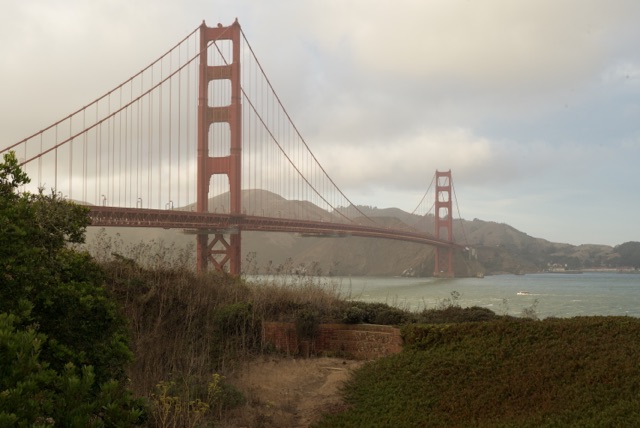
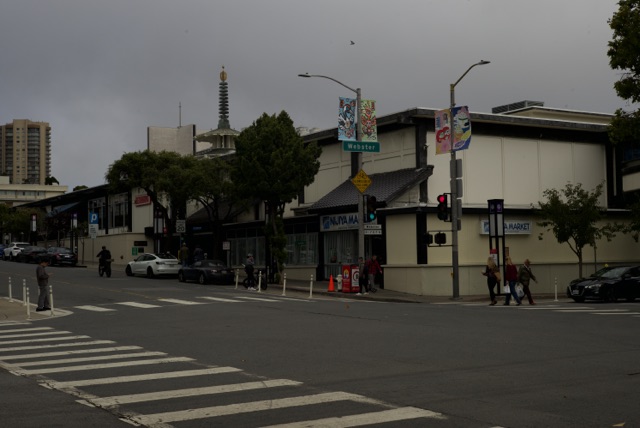
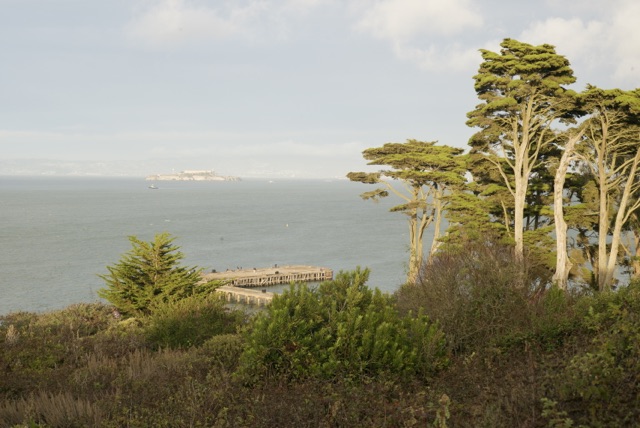
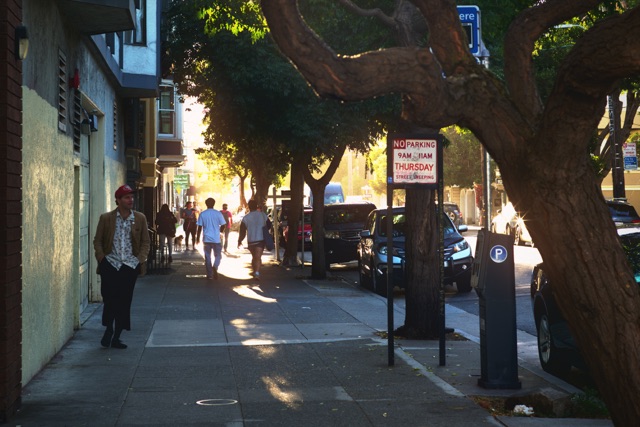
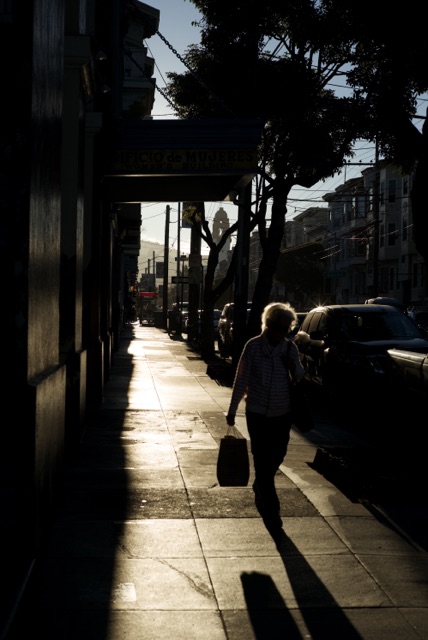
Browse a selection in Grid, open a photograph in Loupe or compare photographs side by side. Switch views with ⌘1, ⌘2 and ⌘3. Your selection stays the same. B, C and D switch between Browse, Choose and Develop.
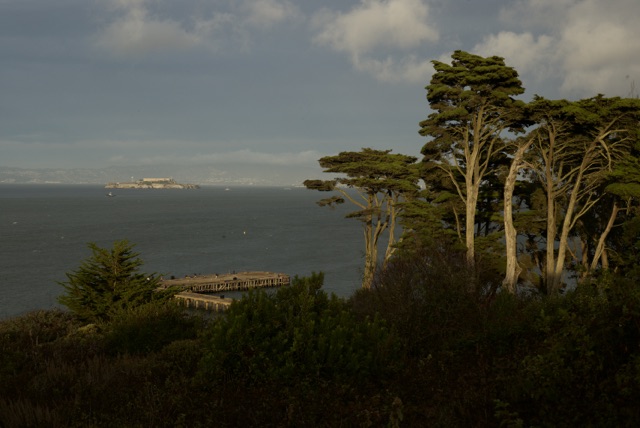
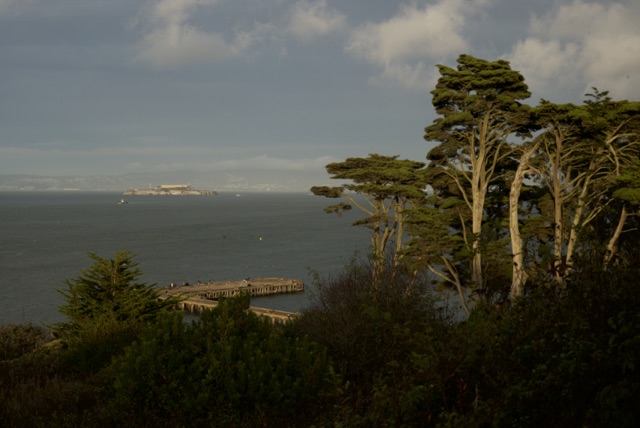
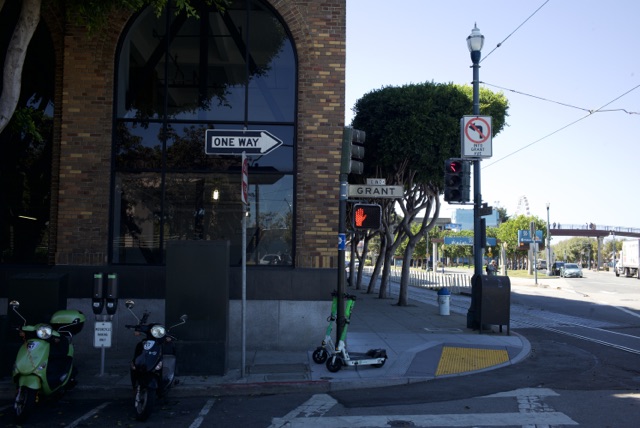
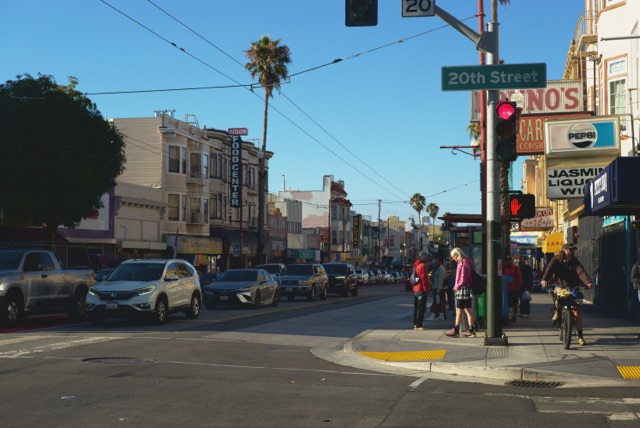
06 · Loupe and looking closely
Find the detail that makes the difference.
Open a photograph in Loupe and give it your full attention. Check focus, expression and fine detail from fit to 400%. Use the magnifying glass to look closer while the whole photograph stays in view.
Press ⌘2 for Loupe, G for the glass at fit and K for focus peaking. When you zoom into the photograph, the navigator shows where you are and lets you move around. Its corner position stays with you between photographs and sessions.
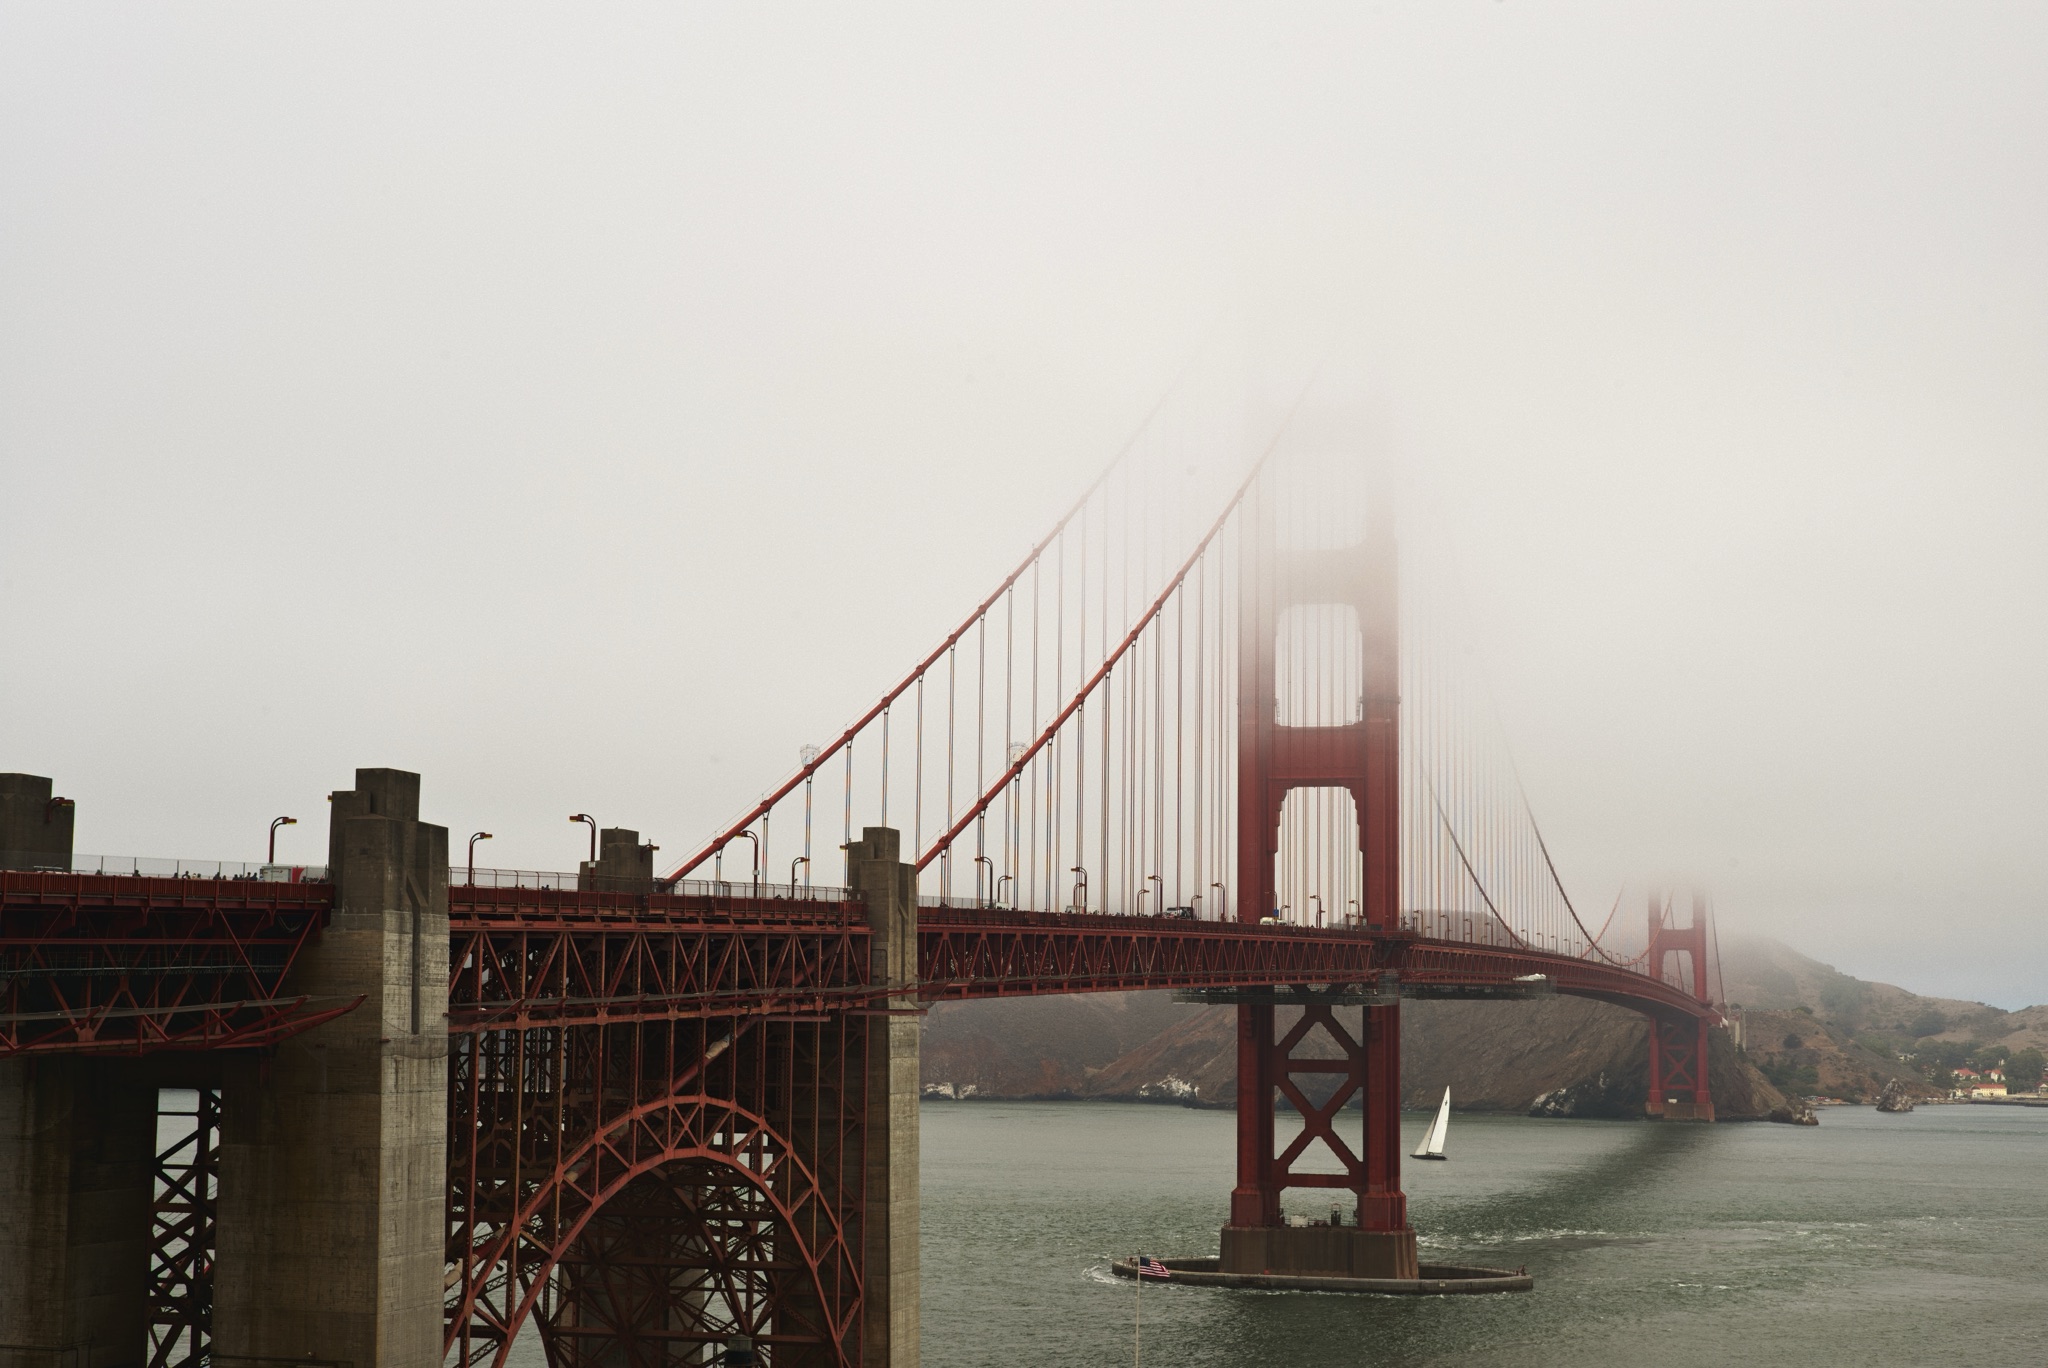 Keep the whole photograph in view.
01 / LOUPE
One photograph. Your full attention.
Open Loupe with ⌘2. Go from fit to 400%, with a filmstrip to keep the rest of the shoot close.
Explore Loupe ↗02 / THE GLASSCheck a detail. Keep the context.
Press G at fit to bring up the glass. Inspect at 100%, 200% or 400% without losing the whole photograph.
Look more closely ↗03 / FOCUS PEAKINGSee where the sharpness is.
Press K to highlight sharp edges measured from original pixels. Judge the detail before choosing your keeper.
See how it works ↗III The workflow
You found the frame. Now find its finish.
Shape the whole photograph, work on a small detail or try a different treatment. Keep the original and your alternatives close at hand.
07 · Develop
Make the final edits.
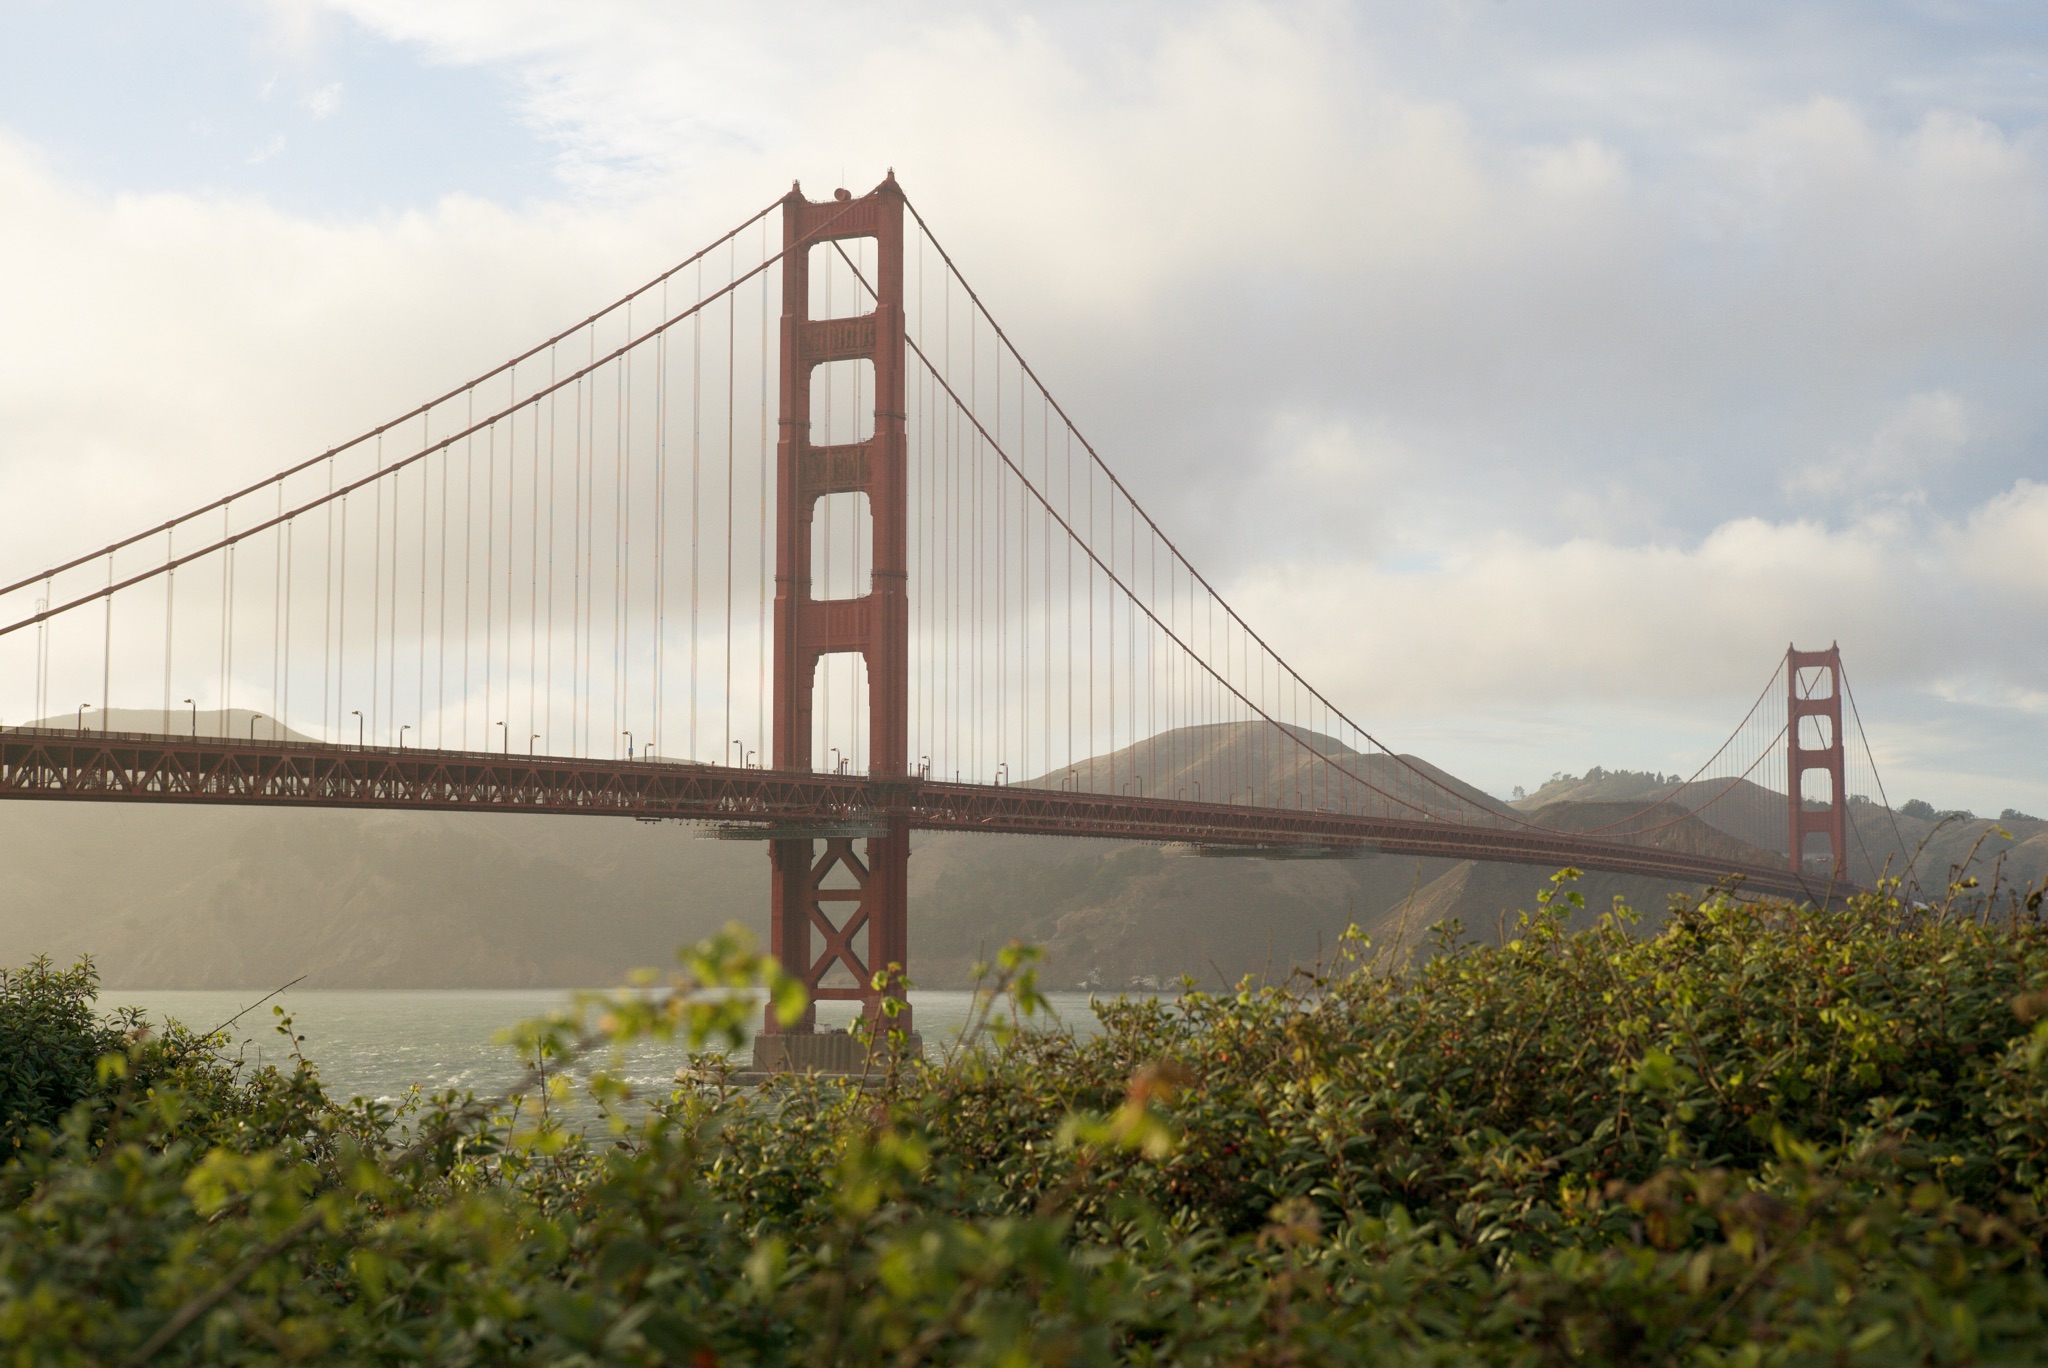
Crop with eight aspect choices and five composition guides. Set the angle with a slider, drag outside the crop, draw along a straight edge or use Auto-level. Frames reports when it cannot detect a horizon.
Adjust exposure, contrast, highlights, shadows, whites and blacks. Click the wand for a balanced starting point that accounts for the subject. Option-click for a flatter result ready for curve editing.
Adjust overall tone or individual red, green and blue curves. Press T and drag on the photograph to change the tone under the pointer.
Adjust RAW temperature in Kelvin and set tint separately. Press W and click a neutral area to calculate both from the original data.
Vibrance strengthens less saturated colours. Saturation changes overall colour intensity.
Adjust hue, saturation and luminance across eight colour bands. Press H and click the photograph to select a band from its colour.
Adjust clarity, texture and dehaze, add a crop-relative vignette, or choose film grain by stock and format. Check the manual for grain-preview limits at small display sizes.
Detail provides the controls supported by the current RAW file and decoder. Available settings can include sharpening, noise reduction, moiré and highlight recovery.
Composition review
What matters here?
Start with your intention.
Choose what you want the photograph to do. Point to what matters, or mark an area yourself. Frames brings forward a measured observation and, when available, one crop comparison to judge by your intention.
Explore composition reviewExplore this example
The tower is the chosen area in this illustration. In Frames, your choice helps focus the review.
Your photograph. Your decision.
Compare Before and After. Keep current, Use comparison or Adjust further. Save a note with the photograph and carry a relevant shooting prompt to the camera.
Explore the illustration above. Frames measures each photograph individually. Your intention guides the review; confirmed protections constrain automatic crops. Comparisons and shooting prompts appear when available.
08 · Local work
Adjust part of a photograph.
Layers
Foreground68%
Bridge tower100%
Background- Choose a detected maskSelect a subject, background, person or object detected on your Mac. Create masks for available face parts, hair and clothes. Hover with M to select from the photograph, or use Select to define and refine another object.
- Draw a maskDraw Radial, Linear or Brush masks, or select a luminance or colour range. Set brush size, softness and flow. Snap includes detected objects crossed by a stroke. Add or subtract shapes to refine the mask.
- Repair spots and scratchesPress Q and click to repair a spot, or Option-drag to paint a longer repair. Drag an empty area to pan. Frames finds nearby source material; drag the source grip to choose another area. Press ⇧K to highlight possible dust, then save repairs as a map to reuse across a shoot.
RecipeExposure +0.6 — Bridge towerShadows +14 — ForegroundRepair — one spotAll three are stored in the recipe: a radial is five numbers and a stroke is a list of points. The original file is untouched.
09 · Looks
Apply a look. Adjust it to suit.
Start with one of 23 included looks, then adjust its strength. Controls you change yourself keep their settings when you adjust the strength again. Hover over a look to preview it before applying it.
Explore colour, film styles, split tones and monochrome. Save and share your own looks, or import Lightroom presets with a clear report of unsupported settings.
- 23 looks in five groups
- Adjust strength after applying
- Import Lightroom .xmp presets
One frame. More possibilities.
Find a starting point.
Try a direction, then dial it back.
Interactive colour study with placeholder pictures. The app’s looks are applied to your photograph’s RAW adjustments.
10 · Monochrome
Shape your black-and-white photographs.
Switch between Colour and Monochrome at the top of the sidebar. Each change is one undoable edit.
Monochrome converts the photograph to black and white and displays conversion and toning controls. Your colour settings remain saved.
Start with one of six filter settings. Yellow gently darkens blue skies and lightens warm colours.
Red darkens blue skies more strongly and lightens warm colours. Adjust the eight band sliders to refine the result.
Each band changes how an original colour becomes grey, by up to 2.5 stops for saturated colours. Neutral grey stays unchanged. Adjusting a band clears the filter preset selection.
Set separate shadow and highlight hues and strengths, then adjust their balance. Selenium adds a cool tint mainly to shadows.
Sepia adds a warm tint. Pure black and white stay neutral. Toning applies after every layer and affects the whole photograph.
The histogram shows luminance with highlight and shadow clipping. Save the conversion in a look, or use Browse’s Monochrome filter to find black-and- white treatments.
11 · The picture itself
RAW processing on your Mac.
Frames uses Apple’s newer RAW decoder for supported cameras. It processes colour, noise and fine detail for the editing canvas, histogram and exported file.
The newer decoder helps reduce noise in high-ISO shadows and false patterns in fine textures such as fabric and feathers. Photographs from other cameras use the older decoder. Frames shows the controls available for each photograph. All processing runs on your Mac, without uploading photographs.
RAW · newest decoderThis camera and this decoder offer no moiré control between them, so Frames does not draw one you can turn.
12 · Versions
Try different edits. Keep up to three.
Create up to three treatments of a photograph and switch between them in the version picker. Each treatment has its own edits. Choose ORIGINAL to view and export the photograph as shot. Your edits remain saved.
Keep a colour treatment, a monochrome interpretation and another idea alongside the original. Each has its own edits, ready to revisit or export.
- ORIGINALas shot
- Editedwarm
- Edited 2cold
ORIGINALEditedEdited 2
copies the one on screen13 · Reuse
Apply your edits to more photographs.
Press ⌘⇧C to copy a treatment and ⌘⇧V to apply it to another photograph. Adjustments, curves, the colour mixer and masks are copied. Detected masks are recalculated for the new photograph. The crop and decoder version stay with the original photograph, and unsupported RAW controls are omitted.
Carry the treatment across a selection in one background job. Review what will change before you start; one ⌘Z restores the entire selection.
⇧⌘C⇧⌘V
IV The workflow
Make something worth sharing.
Carry a treatment across the shoot. Prepare the finished files. Send an edited photograph back to Photos, with the original still there.
14 · Export
Export files. Share your photographs.
Export JPEG, HEIF, 16-bit TIFF or PNG to a folder or the macOS share sheet. Choose a colour space, output size, metadata and filename pattern. Resizing never enlarges photographs; output sharpening applies only after resampling. Location metadata is off by default. The export sheet estimates downloads and disk space before you start.
Exports run in the background, can be cancelled and report any files that could not be written. For photographs in Apple Photos, after you allow publishing, Frames sends a full-resolution rendering when you leave a changed photograph. iCloud Photos can then sync it to your other devices. Photos keeps the original, and Revert restores it.
- JPEG · HEIF · 16-bit TIFF · PNG
- filename templates, resolved as you type
- Publish to Photos, with Revert
Export — 19 photographs
FormatJPEGHEIFTIFF 16PNG
Colour spacesRGBDisplay P3Adobe RGB
Resize2 048 px long edge
Filename{date:yyyy-MM-dd}_{name}_{seq:3}2026-02-14_L1008804_001.jpg
19 photographs · 6 need fetching · ≈ 124 MB to download
writing…
Allow Photos publishing to sync full-resolution edits through iCloud Photos. Revert restores the original in Photos.
15 · Your work, your originals
Your originals stay unchanged.
Frames stores ratings, verdicts and edits in its own catalogue. Editing leaves the original file unchanged. Photos also keeps the original when Frames publishes an edited rendering. Cleanup is the only place to delete a photograph, and deletion requires confirmation. There is no Frames account or library reporting.
Photo processing and analysis run entirely on your Mac, including mask detection, scene search analysis and composition measurements. Frames does not upload photographs for processing or analysis. Machine learning helps detect subjects, skies and faces, and find similar photographs. It does not choose your photographs.
The details that keep work moving
More tools. Fewer detours.
Find the right photograph, finish the small adjustments and keep your export settings ready for next time.
Organise
Photographs like this one
Press S to find up to 100 visually similar photographs, subject to active filters.
Explore in the manualKeywords you type
Add keywords to a photograph and search them alongside detected words.
Explore in the manualCaptions and credit
Add photograph captions and shared creator and copyright details for export.
Explore in the manualSaved searches
Save queries and filters under a name in the sidebar, with counts that update as the catalogue changes.
Explore in the manualRefine
Auto tone
Set a starting point for the six Tone sliders with one click and undo it in one step.
Explore in the manualLens corrections
Apply a saved lensfun profile or manual distortion adjustment before other edits.
Explore in the manualDust maps
Save sensor spots and apply them to a selection or camera date range, with a summary and one-step undo.
Explore in the manualMask selectivity
Limit individual mask shapes to matching colour and brightness, including subtracting shapes.
Explore in the manualShare
Soft proofing
Preview sRGB, Display P3, Adobe RGB or ProPhoto and highlight out-of-gamut colours.
Explore in the manualWatermarks
Add text or image watermarks with nine positions, size, inset and opacity controls.
Explore in the manualExport presets
Save, rename and reuse export settings, including the destination.
Explore in the manualFile naming
Build folder and filename patterns from dates, sequence numbers and photograph metadata.
Explore in the manual16 · Pricing
One purchase. No subscription.
Every feature in one app: organise a collection, select the strongest photographs and make the final edits. Buy once at the limited launch price, with no subscription.
From the first selection to the finished photograph.
- Organise, select, edit and export in one app.
- Work with Apple Photos, folders and external drives.
- Process and analyse photographs on your Mac.
- Try every feature free for 30 days.
Available at launch for a limited time. The price will increase afterwards.
Before you bring a shoot
A few practical details.
Can I use the folders I already have?
Yes. Add local folders, connected drives or your Apple Photos library as sources. Your files stay where they are. Read about sources →
What happens to my originals?
Editing leaves your original files unchanged. Frames stores edits in its catalogue. Apple Photos also keeps the original when you publish an edited rendering.
Do I need an account?
There is no Frames account. Editing, analysis and the catalogue run on your Mac. Fetching originals stored in iCloud requires a connection.
What will the trial include?
At launch, you will have thirty days to try every feature with your own photographs. The limited launch price will be $99.99 once, with no subscription. Frames requires macOS 15.2 or later.
17 · Get Frames
Try it with your own photographs.
Frames will launch on the Mac App Store with a thirty-day trial. Every feature is included. Add a folder or your Photos library, review a shoot and try the editing tools.
30days
Bring a shoot. Try the whole app.
Choose your keepers, make the edits and export the results. Every feature is included in the launch trial.
- macOS 15.2 or later
- Thirty-day trial
- One payment, no subscription